


Custom Rom For Galaxy Y Hyperion 8
Specifications :-
1. De-Odexed
2. Zipaligned
3. Recompressed APKS
4. Optimized APK Images
5. Rooted
6. BusyBox and BusyBox run-parts support
7. Apps2SDenabled
8. 15 Toggle Notification Drawer
9. 6 Lockscreens from Gingerbread AOSP/CM with custom app starter and gesture unlock
10. Status bar Tweaks + TEAM battery bar
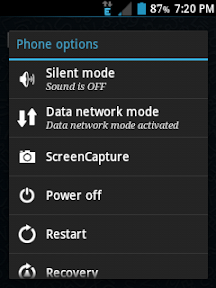
11. 4-way Reboot Options
12. Expanded Power Menu (because themers andmods crash systemUI most of the time, we need
other ways of rebooting)
13. No SMS Bug
14. No false Android version
15. No useless features
16. Least branding (Like creed parts or cod parts orwhatever. We don't like that. It's your phone,
not ours)
17. EXT4 File System Support
18. CIFS
19. Swap Support
20. BaCeM Tweak
21. UnderVolt Support
22. Firewall Support (DroidWall Open-Source Project)
23. Ad-blocking host file
24. Supercharged Hyperion Core v2 with AdrenalineEngine v4.4
25. Transparent JellyBean user interface
26. Ear-gasmic sound quality
27. Integrated Autostart manager, Firewall andNetwork Unlocker
28. Modular system structure
29. System Replacer
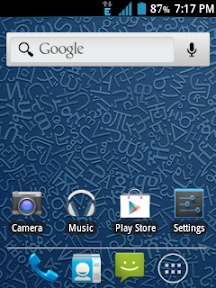
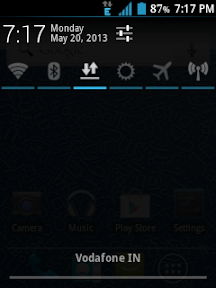
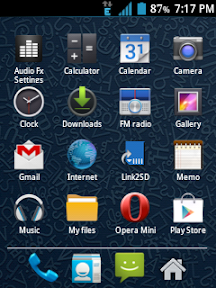
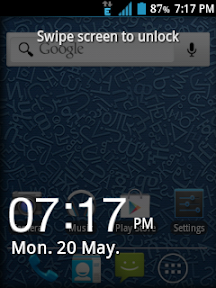
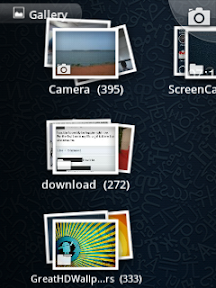
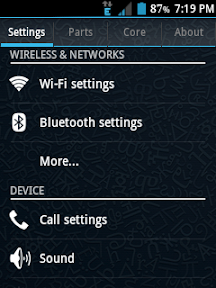
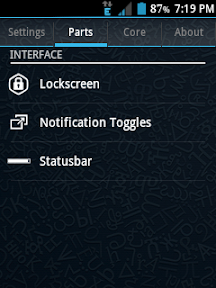
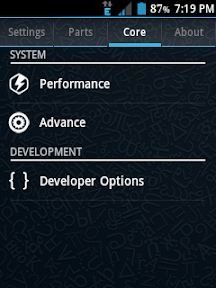
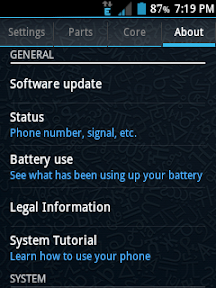
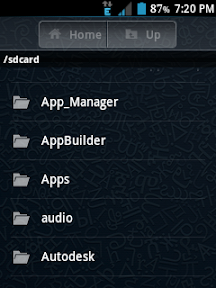
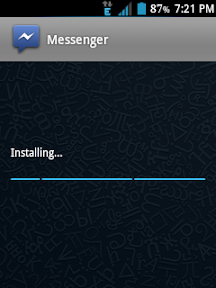
Screenshots :-
Now your question is that how to install it on your device don't worry I am Providing you the method for your device through which you can install this on your phone .
Before Installation :-
1) Make sure that your phone is more than 80% charged because if your phone gets off while the process of rooting it may brick your smartphone.
2) Backup all your important data .
3) Enable USB Debugging . To do this process , go to Menu > Settings > Applications > Developer Options and tick the USB Debugging checkbox .
Requirements :-
1) Note that your phone must be rooted before you install this rom to your phone .
2) CWM
3) Rom
Steps To install :-
1) Switch off your phone. Then you need to got to the CWM recovery and required to press Volume Up Button ( + ) . In the recovery mode use the volume keys to move up and down and the Power Key to select the highlighted item .
2) Go to install from sd and patch CWM by opening it!
3) Now you need to go to the Mounts & Storage and Mount everything . System, sd card, sd ext, data and all you needed .
4) After that go to Advanced and clear battery stats and dalvic cache.
5) Then go back and select clear data , it will clear all amount of data stored in phone .
6) Then you need to go to install zip from sd > apply zip from sd card. Locate the rom zip file and select it! This will install the rom!
7) Finally , go back to the main menu and select reboot option . The phone will take 10- 15 minutes to start because the phone is getting first time start after the installation of new rom so please don't panic be patient .
8) You have finally installed Hyperion Rom on your device i.e Galaxy Y .
If you have any query or happy with the response then please like us on facebook and ask your query on our Facebook Fan Page or by writing a comment below .
Rooterzz is not responsible for any of the damage cause with your smartphone while installation of Custom Roms .
Rooterzz is not responsible for any of the damage cause with your smartphone while installation of Custom Roms .